MACHINING DEPARTMENT
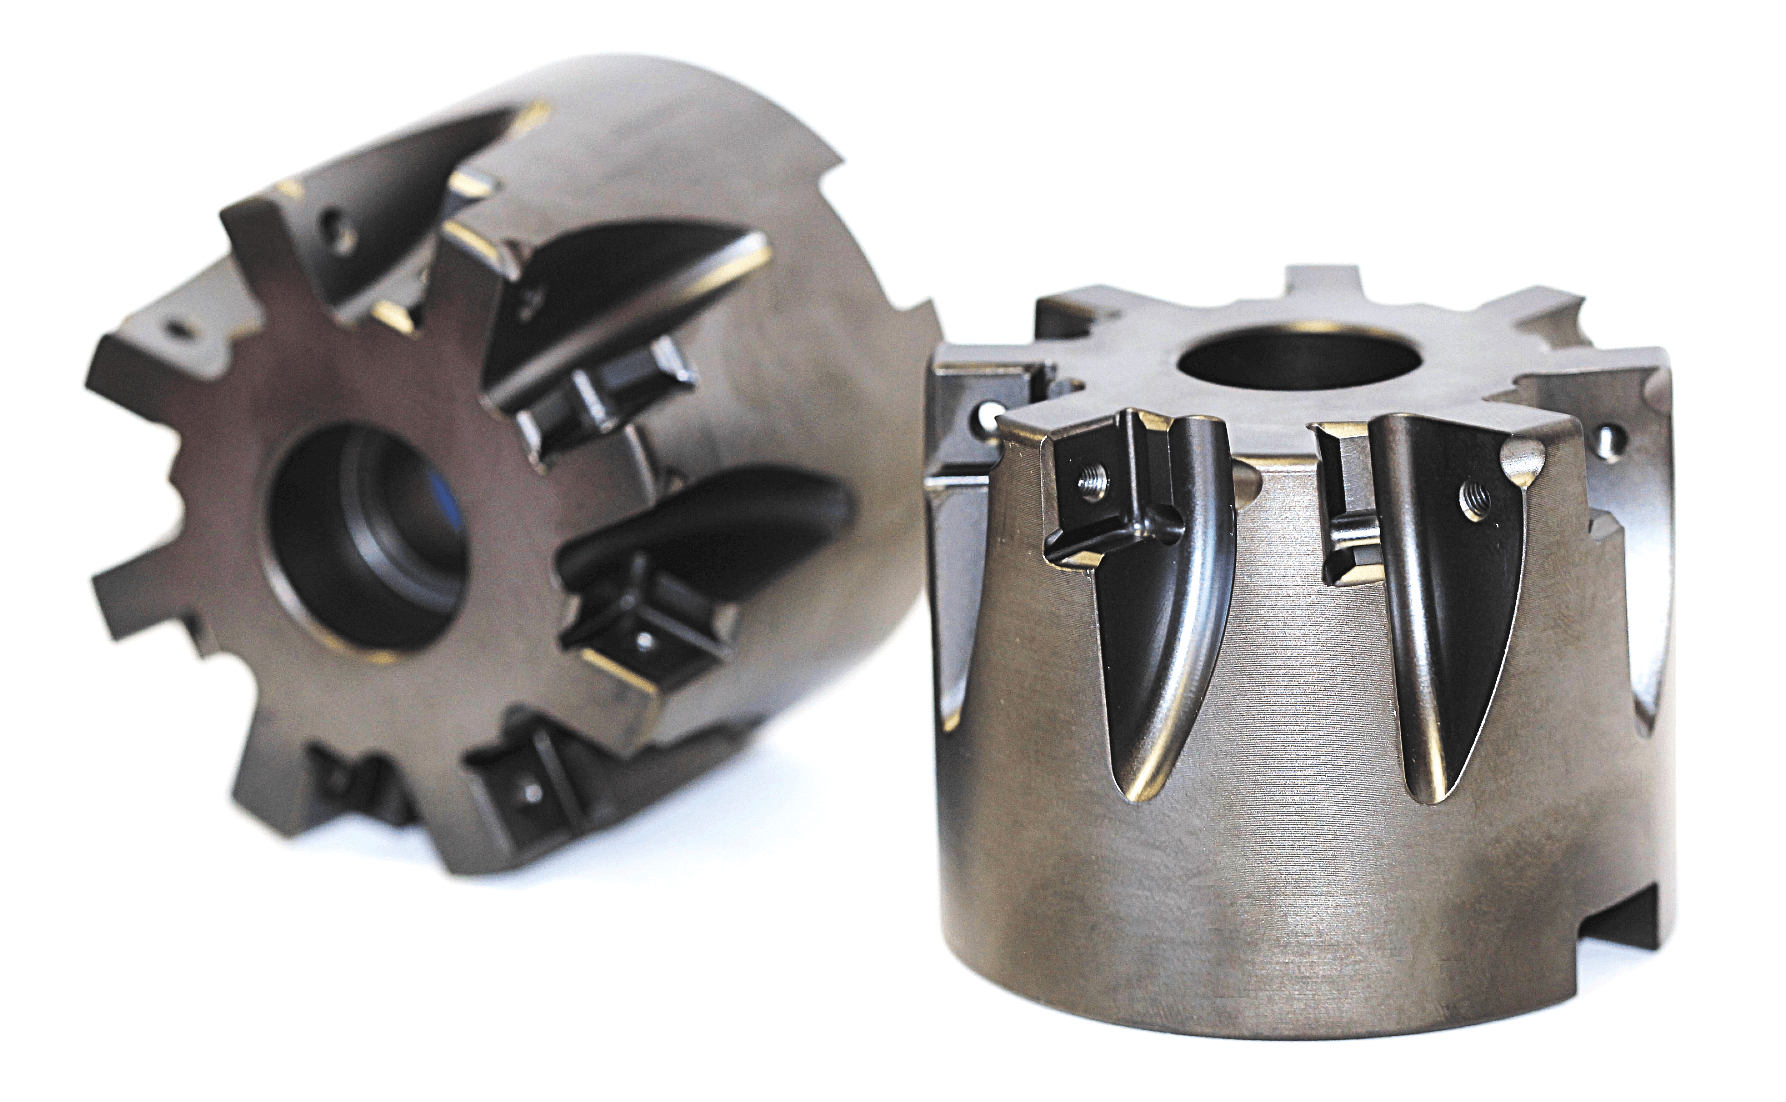
Production of special tool holders
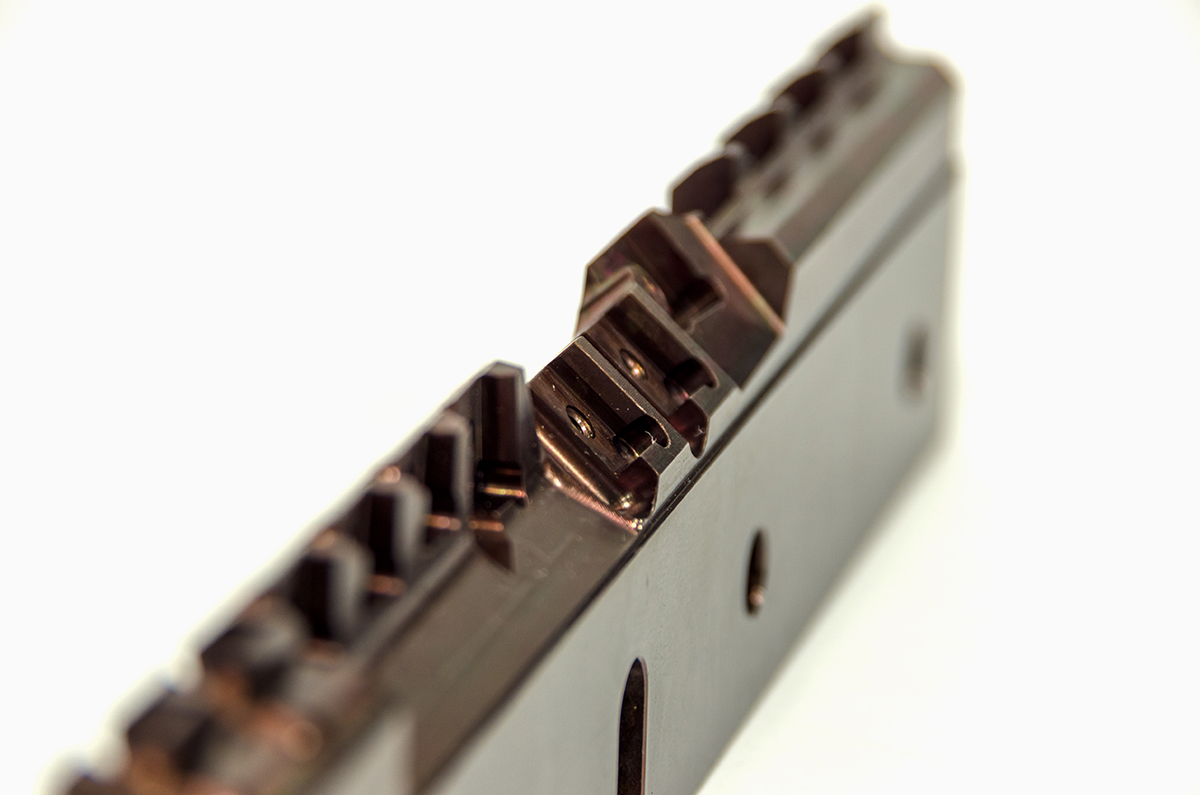
After receiving all the necessary input information from the customer, our design department prepares a design for the tool holder that takes into account all aspects – serial production, machine tool, applied cutting forces, volume of chips removed, tool durability requirements, etc. A tool designed and manufactured in this way with the MASAM brand is a guarantee for the customer of efficient machining of his parts.
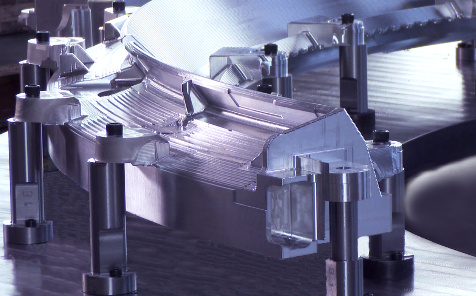
Production of parts for the aviation and space industry
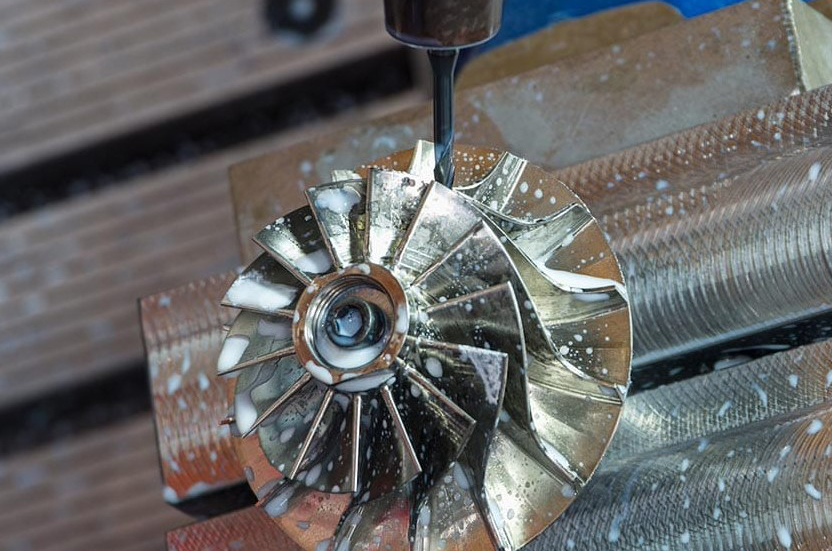
The guarantee of the accuracy of the parts during their production is the modern machine park, the expertise and experience of the staff, as well as the process control of production according to the aviation standard AS 9100 D. Our typical product is the prototype of an aircraft part and, due to the technological equipment, mostly parts of larger dimensions.
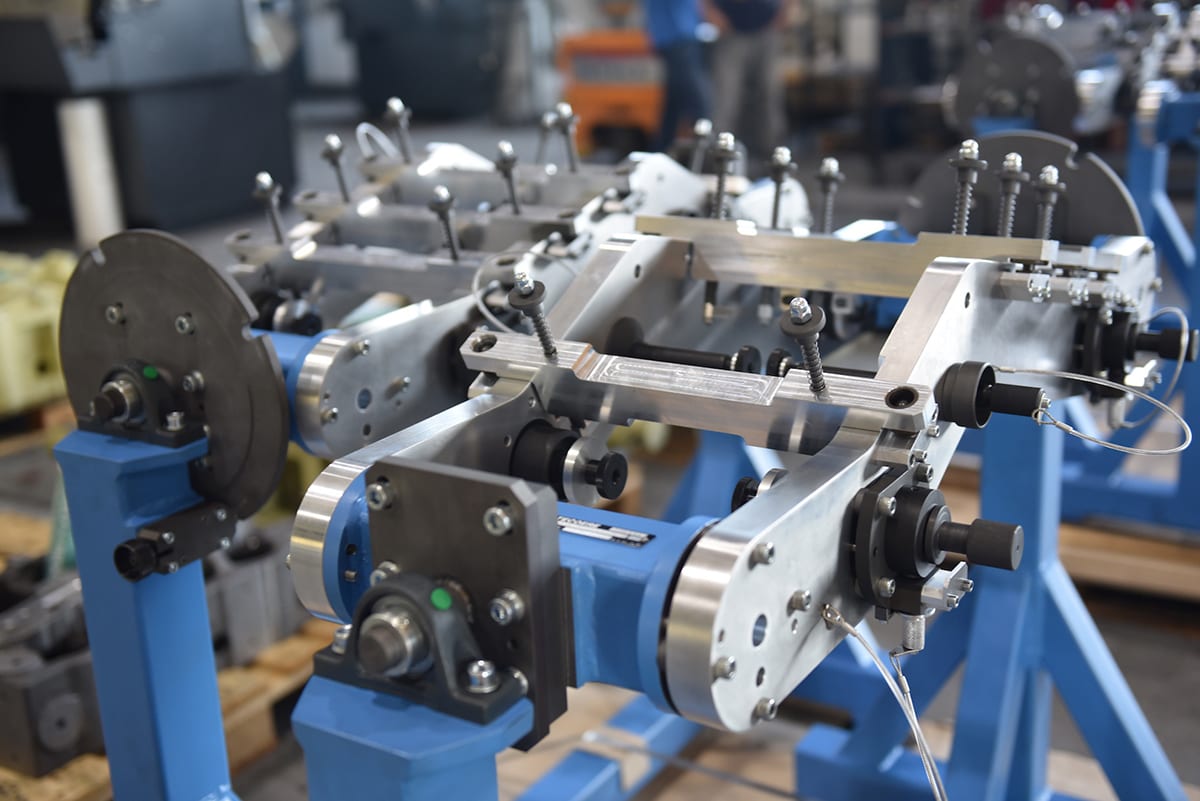
Production of jigs for the aviation industry
Realized jigs are intended for suppliers of TIR1 for AIRBUS as well as other aircraft manufacturers. Jigs are mainly produced according to customer documentation and are mainly intended for the production of aircraft doors or supporting elements of the aircraft structure.
Production process flow:
- production and control of parts
- final assembly and adjustment
- handing over to the customer, including on-site installation
Machining is carried out on modern CNC machining centers programmed using POWERMILL and CATIA software. The final assembly is ensured by a professionally skilled team of toolmakers together with the control department, which is responsible for the final setting of the functional dimensions.
Production of jigs for machining
The design of the jigs is ensured by our own R&D department, and the programmers perform all the necessary simulations of the production process in order to achieve the most optimal results for the customer.
Production process flow:
- production and control of parts
- final assembly and adjustment of the jigs, process programming and supply of cutting tools
- handing over to the customer, including on-site installation and production of the prototypes
The advantage for the customer is that the MASAM company is able to provide a comprehensive design of the entire machining technology for the customer up to the start of serial production.
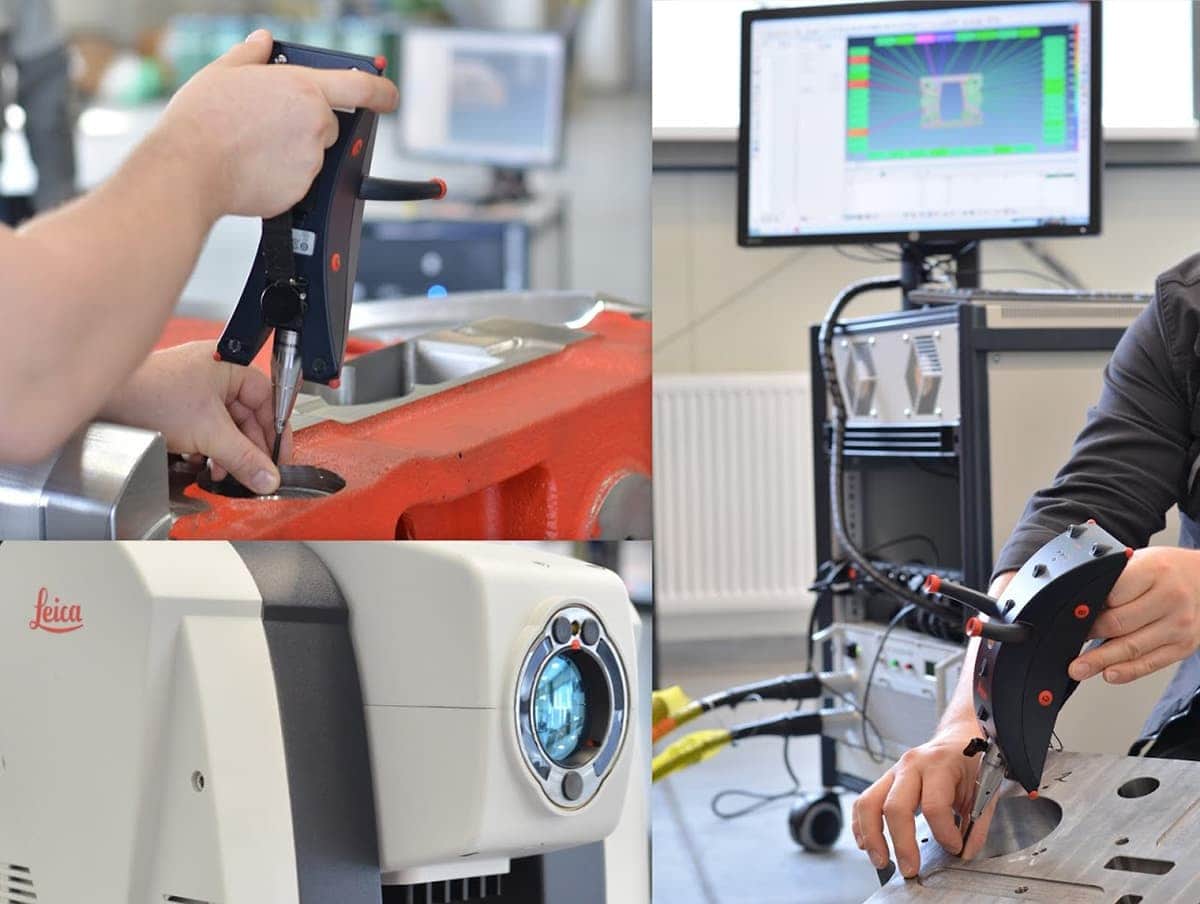
Control, reverse engineering and 3D scanning
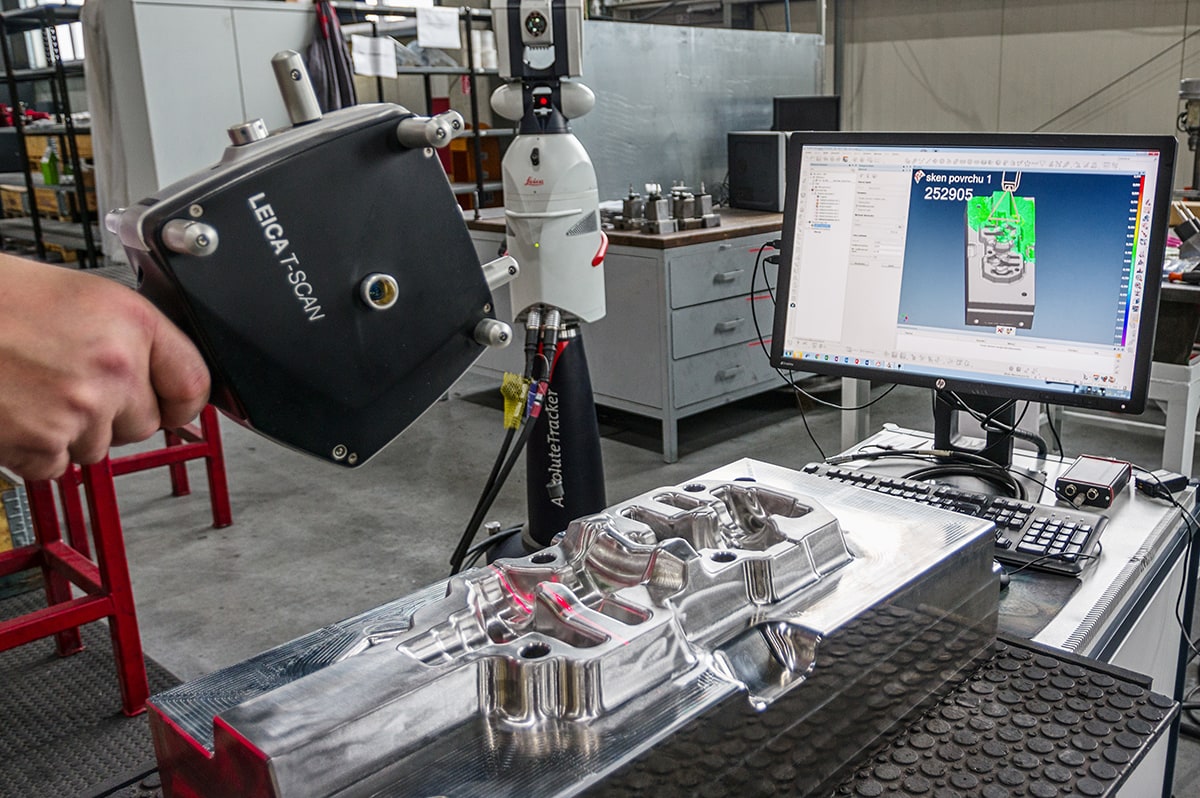
The technical control department is equipped with touch and optical measuring devices CARL ZEISS, LEICA and STEINBICHLER COMET. The output data format can be in the form of a measurement protocol or a color map of deviations from nominal dimensions. These devices enable the digitization of the part delivered by the customer (reverse engineering) and the subsequent creation of the technical documentation of the part.
